For your output videos to display in the HTML template, you will have to save/convert them to H.264 (*.mp4).
If you are having troubles with H.264, try downloading this DLL and placing it in the folder with the binary (I believe you need version 2.6).
Alternatively, you can install FFMPEG and use it to convert your .avi files to .mp4 using the command below.
ffmpeg -i input.avi -c:a aac -b:a 128k -c:v libx264 -crf 23 output.mp4
Do not waste time on this.
If you are unable to get these formats working within a few minutes, you are free to pick a different format or to let OpenCV pick its default - .avi is common.
VideoWriter::fourcc('H','2','6','4')// For H.264
Background Material
For using HAAR cascades in MATLAB, download the appropriate XML file from here. You can also use the HAAR cascades within MATLAB.
https://github.com/opencv/opencv/tree/4.x/data/haarcascades
If you are using OpenCV, you can access the XML files using
data::haarcascades + "/xml_file_name"
https://www.mathworks.com/help/vision/ref/vision.cascadeobjectdetector-system-object.html
https://docs.opencv.org/4.x/da/d60/tutorial_face_main.html
https://www.cl.cam.ac.uk/research/dtg/attarchive/facedatabase.html
https://www.tutorialspoint.com/how-to-detect-cat-faces-in-an-image-in-opencv-using-python
Part 1a: Face Detection
Write a program that detects faces in the given images using HAAR cascades. Draw boxes around each detected face and save the output as a new file, which is then displayed in last row of the table below. You can use either MATLAB or OpenCV for this part.
|
|
|
|
|
|
|
|
|
|
|
|


Note: change the file or file name to show you source code in the box below. If this does not work, put a local URL link to your source code file.
Part 1b: Face Components Detection
Detect eyes, noses and mouths in the provided images using HAAR cascades. For each image, you should have 3 different outputs, 1 for eyes, 1 for noses, and 1 for mouths. If you use OpenCV, detect smiles instead of mouths.
|
|
|
|
|
|
|
|
|
|
|
|
|
|
|
|
|
|
|
|
|
|
|
|
Note: change the file name to link your code
Part 2: Face Detection in Videos
Do the same as part 1a, but now for the provided videos. All videos are provides in both AVI and MP4 format. See the zip file. Pick the format that works best for your platform/OS.
First input video.
|
|
|
|
Second input video.
|
|
|
|
Third input video.
|
|
|
|
Note: change the file name to link your code
Part 3: Face Detection (alternative method)
Write a program that detects faces in the given images using LBP cascades in MATLAB. Draw boxes around each detected face and save the output.
To change the classification model to LBP you can use this command line in MATLAB:
faceDetector = vision.CascadeObjectDetector('FrontalFaceLBP');
|
|
|
|
|
|
|
|
|
|
|
|


Note: change the file name to link your code
Part 4a: Face Detection (test with your own images)
Detect faces, eyes and mouths using HAAR cascades for 3 images provided by you. For each image, you should have 3 different outputs, 1 for faces, 1 for eyes, and 1 for mouths. If you use OpenCV, detect smiles instead of mouths.
|
Input Images |
|
|
|
|
Detected Faces output |
|
|
|
|
Detected Eyes output |
|
|
|
|
Detected Mouths output |
|
|
|
Note: change the file name to link your code
Part 4b: Face Detection (test with your own video)
Repeat the task from 4a, but now for 1 video that you provided. The video should not be more that 15 seconds long.
Input video.
|
|
|
|
|
|
|
|
Note: change the file name to link your code
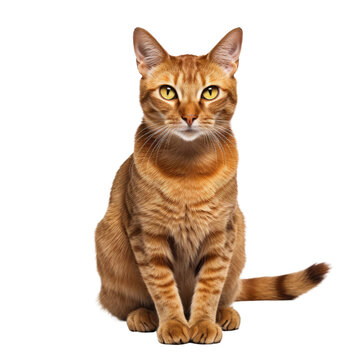
Part 5a: Detect Cat Faces (in images)
This is similar to part 1a but now you have to detect faces of cats in the provided images. Please review the background material at the top of this page to find out how to use the cat face cascade. Two pre-trained cascades for cats can be downloaded from this link.
|
|
|
|
|
|
|
|
|
|
|
|


Note: change the file name to link your code
Part 5b: Detect Cat Faces (in videos)
Repeat the task from 5a, but now your program must detect faces of cats in the provided videos.
First input video.
|
|
|
|
Second input video.
|
|
|
|
Third input video.
|
|
|
|
Note: change the file name to link your code
Part 6a: Modify the Videos to Show Only the Faces
For each of the provided videos, detect the human faces. Then, blackout everything in the frames except for the detected faces. Save the output videos.
First input video.
|
|
|
|
Second input video.
|
|
|
|
Third input video.
|
|
|
|
Note: change the file name to link your code
Part 6b: Extract Face Images from Videos
Modify your code from part 6a. For each of the detected faces in the input videos, extract the face and save it as an image. Extract the faces every 1 second. For each input video, create a separate folder to store the output faces.
Note: change the file name to link your code
Part 7: Compute the Mean Image
Download and extract this ZIP file from AT&T Laboratories Cambridge. The extracted folder could be part of your submission but the path should be reused across all problems that use this dataset (7, 8, 9, and 10).
For this problem, use the first 8 images of each of the 40 people in the dataset.
Write a program to compute the average/mean face from these 320 face images. Save the mean image and display it below. To load the ".pgm" files in OpenCV, use one of the following flags during imread:
cv2::IMREAD_GRAYSCALE
cv2::IMREAD_UNCHANGED
Mean Image

Note: change the file name to link your code
Part 8: Visualize the Eigenfaces
Use the mean image from part 7 to mean normalize all 320 faces. Then, compute the eigenfaces. In the table below, show the eigenfaces as images for the 10 largest eigenvalues. Print the corresponding eigenvalues in the box below.
|
|
|
|
|
|
|
|
|
|
|
|
// Insert your resulting eigenvalues here
Note: change the file name to link your code
Part 9: Image Reconstruction
Change your code from part 8 to perform image reconstruction after the training. That is, train the eigenfaces on the same 320 images as in part 8. Then, select one image from the database. Convert it from a grayscale image into the eigenspace and then reconstruct the image. Perform this step with the eigenfaces corresponding to the K largest eigenvectors, where K ranges from 10 to 290 (inclusive) in increments of 20. Display the original image and the reconstructed images below.
Selected Image
Reconstructed Images
|
|
|
|
|
|
|
|
|
|
|
|
|
|
|
|
|
|
Note: change the file name to link your code
Part 10a: Face Recognition Program
Build upon your code from the previous steps to write a program that performs face recognition. For training use the same 320 images form the data set as in the previous problems. For testing use the remaining 80 images (pictures 9 and 10 for each of the 40 people in the data set). Once the test image is converted to the eigenspace, use the Euclidean distance to rank how close the test image is to each training image in eigenspace. Output the labels of the k smallest distances, where k is a parameter between 1 and 5.
Note: change the file name to link your code
Part 10b: Face Recognition Evaluation
Test your program from part 10a with the 9th and 10th images of the first 10 people (s1 through s10) of the AT&T database. Use k = 1.
Display the test images and the corresponding recognized images in the table below. Do not change the original file format. For example, if s1/9.pgm is recognized as label 1, place s1/1.pgm next to it in the table below (in the second column).
In addition, calculate and print the recognition accuracy when using 150 eigenfaces and all 80 test images. Print that value on the screen and in the text box below. No need to visualize the results in this case.
| Image 9 | Image 9 Result | Image 10 | Image 10 Result | |
|
|
|
|
|
|
|
|
|
|
|
|
|
|
|
|
|
|
|
|
|
|
|
|
|
|
|
|
|
|
|
|
|
|
|
|
|
|
|
|
|
|
|
|
|
|
|
|
|
|
|
|
|
|
|
|
|
|
|
// Insert your resulting accuracy here
Note: change the file name to link your code
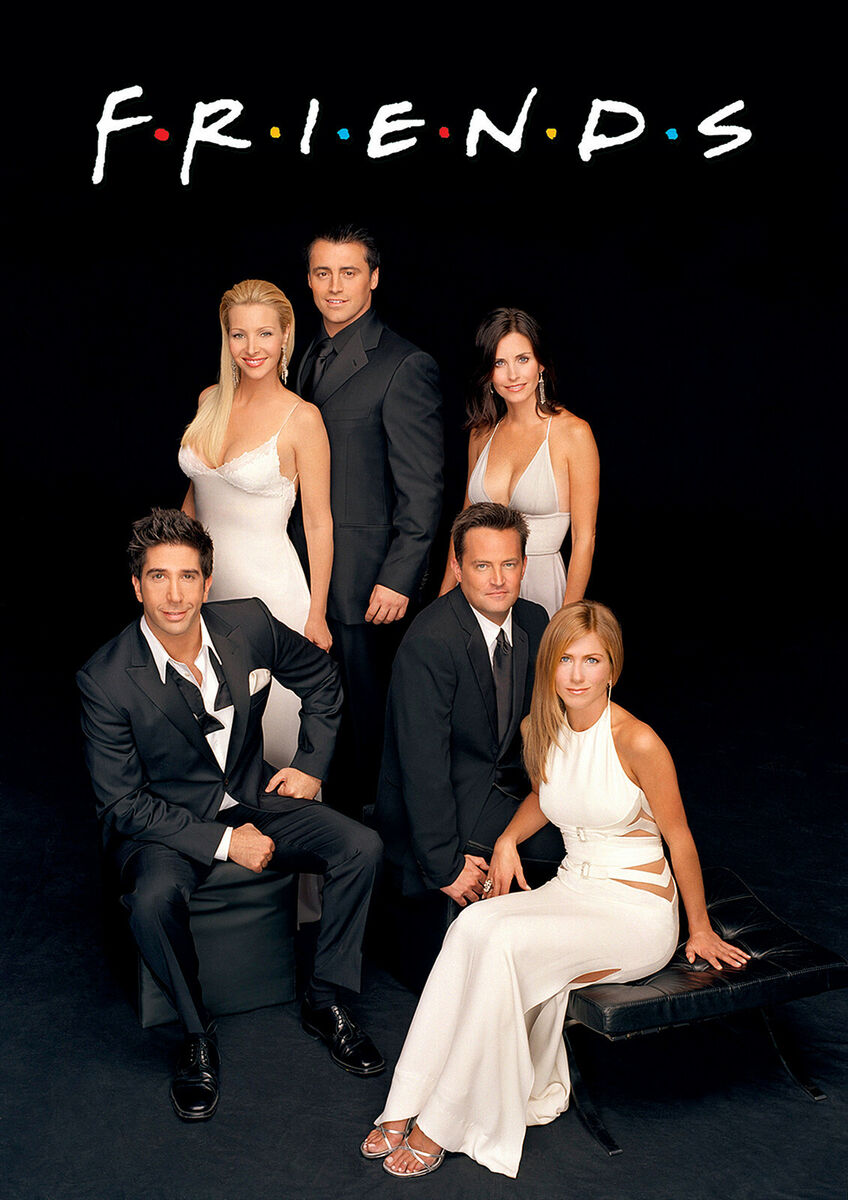
Extra Credit 1
Train a face recognition system on your favorite TV show. Take 10 to 15-second clips and use the face detector to make a database of images from these clips and label them. There should be images of 5 characters used for your training, with enough images per character. Now test your Classifier on another video clip of the same show. Provide the input clips, classifier file(s), and an output video from your test with bounding boxes and labels of detected characters for each frame.
Input test video.
|
|
|
|
Extra Credit 2
Train a Cascade Classifier to detect either traffic lights, stop signs, or some other object that you pick. Collect your own training and text images (or use online databases, google maps, and other public domain websites). Provide the xml file in the outputs folder. Also, provide your source code and sample output images that show the results of the classifier.